Tulips have long become a symbol of spring and warmth. To make them bloom in April or May, tulip bulbs are planted in the fall. The most suitable period for this is September – October. Then the bulbs manage to accumulate strength during the winter and in the spring they can bloom for a long time, abundantly. But it happens that for various reasons the gardener did not have time to do this before winter. What to do in this case and can tulips be planted in spring ?
Many gardeners say that it is possible and even necessary to plant them in the spring along with other flowers. It is somewhat more difficult to grow such a tulip, but it is still quite possible. In addition, this has its "advantages": compared to tulips planted before winter, spring beauties will bloom a little later, which means that the flower bed will remain blooming longer.
#Step 1 When to plant tulips in spring
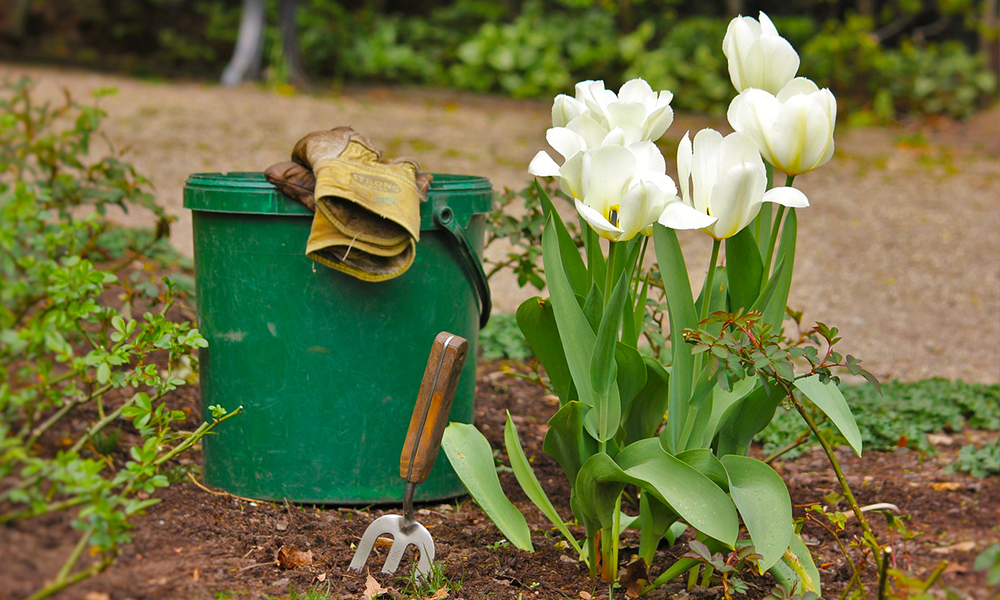
Before figuring out what is the timing of planting tulips in spring, it is worth noting that with such a planting flowering occurs somewhat later. And yet this does not stop many gardeners from planting after winter. In what month to plant tulips in spring ? Early varieties of this flower should be planted in the ground already in the 3rd decade of March - 1st decade of April, when the soil warms up to 9 ° C at a depth of 10 cm. Late varieties can be planted later - until June. In the northern regions, where there is a risk of spring frosts, the bulbs are planted in a pot in the spring (this can be done in March, take peat or other pots for this), and when it gets warmer, transplant them to the flower bed along with the container.
#Step 2 What to do if the bulbs germinate very early
Ventilation, cleanliness in storage, constant inspection - these are the simple measures that allow bulbs to survive the winter outside the soil. After all, it is thanks to regular examinations that you can notice the signs of the beginning of germination in time.
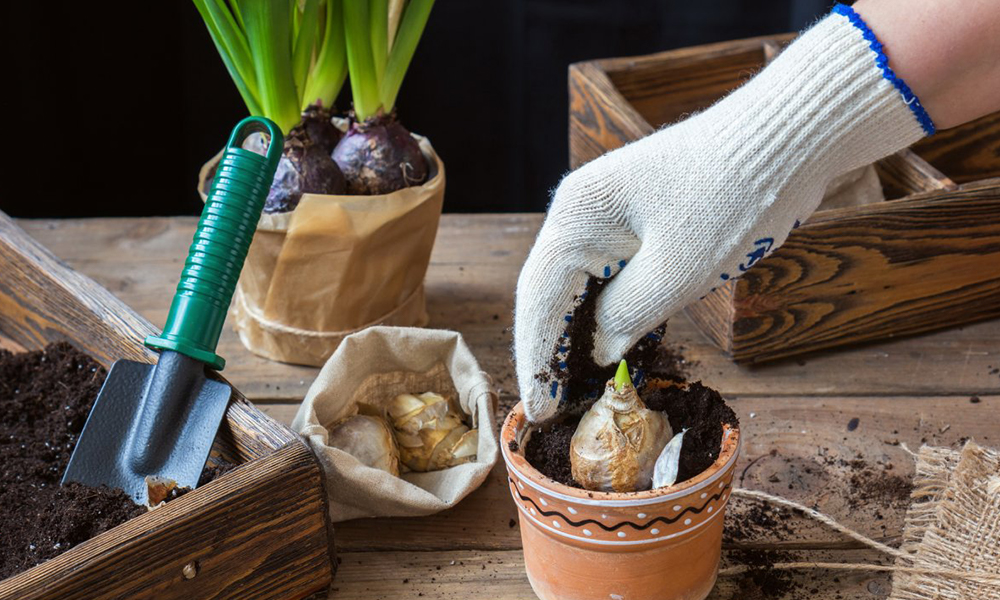
Germination of tulip and gladioli bulbs ahead of time is not uncommon. If this happens, the main thing is not to start to panic. Do not try to fix this problem right away. Germination of bulbs, even if stored in ideal conditions at home , usually happens with newly acquired planting material. Sometimes the reason can be high temperature and humidity, intense lighting, changing storage conditions, etc. How to save sprouted bulbs:
When planting sprouted bulbs in containers, observe the following guidelines:
- Use a lightweight and permeable substrate for this.
- Drainage is laid out at the bottom.
- The bulbs must be buried two to three times the height of the bulb itself.
- Do not thicken the planting, as then it will be difficult to plant the bulbs in the garden.
As soon as sprouts appear and favorable weather is established, the container along with the plants is planted in a flower bed.
Learn More
- Proper Tuberous Begonia Growing Guide for Beginners : Planting,Seeding,Bloom,Care and Variety How to Grow Rose 2021 : Learn the basics rule : planting, feeding, watering, pruning, covering How to care for doritenopsis ?
#Step 3 How to prepare the soil for planting of Plant Tulips
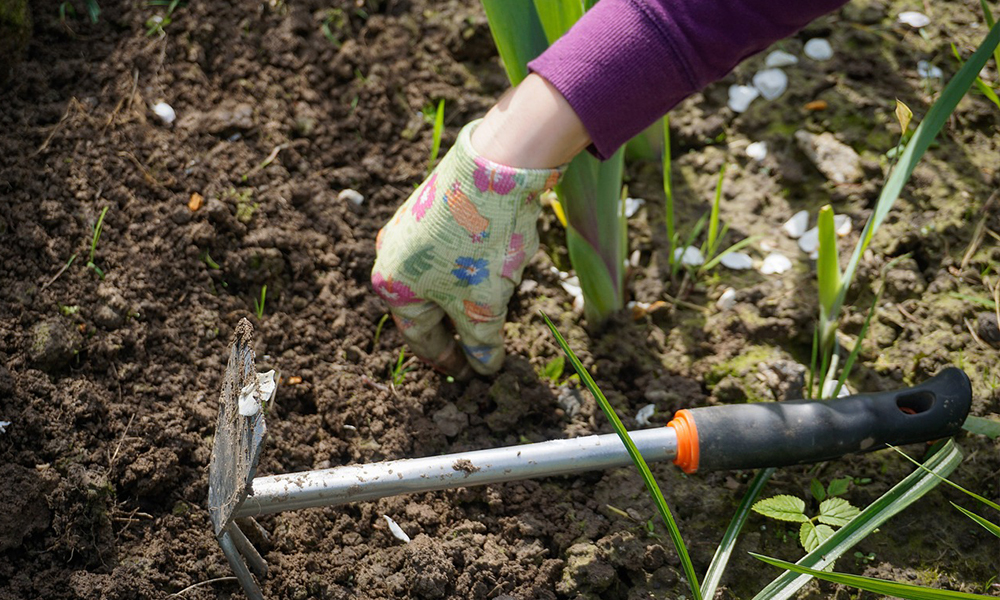
Planting tulips in spring begins with site selection and soil preparation. It is worth starting this immediately after the snow melts. Choose a plot for tulips sunny, with sandy loam or loamy, not acidic soil. The soil must be dug to a depth of 25 cm and fertilized. Seasoned summer residents do not recommend using fresh manure, as this can cause fungus. You can add rotted compost, humus or wood ash. You can also use mineral fertilizers, which will provide faster germination and lush flowering.
#Step 4 How to prepare the bulbs for Plant Tulips
To plant bulbs in spring, you must first acquire them. You can buy planting material in a specialized store or collect it from a flower bed in the fall. The latter need to be dried, cleaned of the remnants of the earth and folded in one layer in wooden boxes. The bulbs are stored in a cellar or basement at a temperature of about 0 ° C and good ventilation.
In the spring, before planting, the planting material must be prepared. To do this, harden the bulbs by leaving the bulbs in the refrigerator overnight (but not in the freezer). Then they can be treated with a prophylactic agent against diseases and pests. If this is not possible, dip the bulbs in a weak solution of potassium permanganate for 30 minutes. Immediately before planting, they must be peeled and checked for signs of rotting or other deterioration. If the affected specimens are planted, they can infect healthy plants nearby.
It is worth noting that the bulbs purchased from a trusted store are already completely ready for planting and do not require additional processing.
#Step 5 How to plant bulbs correctly in spring
After we have figured out when to plant tulip bulbs , have prepared the soil and planting material, you can proceed directly to planting. As already noted, autumn planting is more suitable for these plants, but if you follow the planting technology, even in spring you can achieve high seedlings and abundant flowering.
Choosing a planting site is more important for spring planting - the sooner the plant takes root, the better the chances of early flowering. For example, heavy soils will inhibit the development and growth of tulips, and in a shaded place they will stretch towards the light and become thin and crooked.
How far should tulips be planted? It is necessary to distribute the planting material evenly over the flower bed - there should be a distance of about 10 cm between future plants. How to plant:
#Step 6 Features of care after spring planting
Rooting of the bulb takes place within 2-3 weeks, then after 2 weeks the first shoots appear. Tulip care begins immediately after the first shoots appear. The soil around the plants must be loosened so that air can flow to the root system. This must be done carefully and not deeply, so as not to hurt the onion. With the appearance of weeds, it is important to remove them in time.

Water the tulips regularly. Watering does not have to be plentiful, the main thing is that the top layer does not dry out. Make sure that no water gets on the leaves. You can feed the plants after the sprouts appear with nitrogen, and when the leaves unfold and a flower appears, complex fertilizers are applied. During bud formation, fertilizers based on phosphorus and potassium are applied. It is best to use liquid fertilizers, but if you choose to use dry fertilizers, spread carefully over the soil surface so that they do not get on the green parts of the plants. After that, the soil is watered so that the fertilizing dissolves and penetrates into the soil.
After the end of flowering, the stem of the flower with the seed capsule is cut off. In the fall, the bulbs are dug up, dried and sent to winter.
#Step 7 Pests and diseases
Tulips, like other plants, can be affected by diseases or insect pests.
- Gray rot. May infect the root and ground parts of tulips. The fungus can live in soil for up to 4 years and is transmitted through soil or infected planting material. At the first symptoms (and these are yellow-gray spots on the leaves), you need to treat the plants with fungicides. A 0.5% concentration of captan can be used. Also, during the growing season, plants can be treated with 1% Bordeaux liquid or 0.5% copper sulfate solution. Such spraying is carried out every 10-15 days. To avoid gray mold, carefully select planting material and discard diseased bulbs. It is noted that the presence of sufficient amounts of potassium and phosphorus in the soil significantly reduces the risk of gray rot.
- Fusarium. Infection most often occurs at the end of the growing season, when it gets cooler outside. Plants should be regularly inspected for diseased plants. The drug Fundazol has shown high efficiency in the fight against fusarium. After harvesting and before planting, the bulbs are soaked in the Maxim solution for half an hour.
- White rot. Bulbs affected by this fungus do not germinate or give weak shoots. Diseased bulbs must be removed along with a lump of soil, and tulips can be returned to this place no earlier than after 5 years. Infected beds need to be disinfected with formalin solution (1.5%) - 10 liters of solution per 1 sq. M.
- Penicillosis. It can affect bulbs that are in storage for spring planting, as well as those that have already been planted in the ground. Diseased plants noticeably lag behind in growth compared to healthy neighbors. If during storage you notice affected bulbs, they must be pickled in a solution of potassium permanganate, and the room itself must be regularly ventilated.
In addition to fungal diseases, tulips and planting material can also infect viral infections. The most common of these is variegation. Insects, as well as humans, are transmitted from a sick plant to a healthy plant if specimens are cut with one tool. This virus changes the color of the flower, and in the affected specimens, the flower becomes smaller, and the stem is shorter. To date, unfortunately, there are no drugs to combat the motley virus. If an infected plant is found, it should be removed and destroyed. Tools should also be disinfected after handling plants. But the most successful prevention of the virus is the cultivation of new varieties of tulips.
August disease is caused by the tobacco necrosis virus. Virus-infected leaves show brown streaks that dry out and crack. Sick specimens must be removed along with a lump of soil, and the soil itself must be disinfected. In order to avoid damage, weeds should be removed in time, culture rotation should be observed.
Among the pests that pose a danger to tulips, it is worth highlighting the root onion mite. A tick can cause great damage during storage of the bulbs - it gnaws through the passages in it and grinds off the bottom. If you notice affected planting material, immerse it in water at 50 ° C for 5 minutes. Next, the bulbs need to be dried and sprinkled with chalk. If the tick has infected the plants during the growing season, spray with a 0.2% Keltan solution, but it is still better to remove the affected specimens. If a tick was found on the site, bulbous and corms cannot be grown on it for another 3-4 years.
The purple scoop is another pest that wreaks havoc on tulips. This butterfly lays eggs on plant stems in late summer or September. Its caterpillars bite into the stem of the plant and make moves in it. Then the caterpillar moves on to another plant. In order to avoid damage by this pest in May, the lower part of the stem is powdered with naphthalene or other preparations.
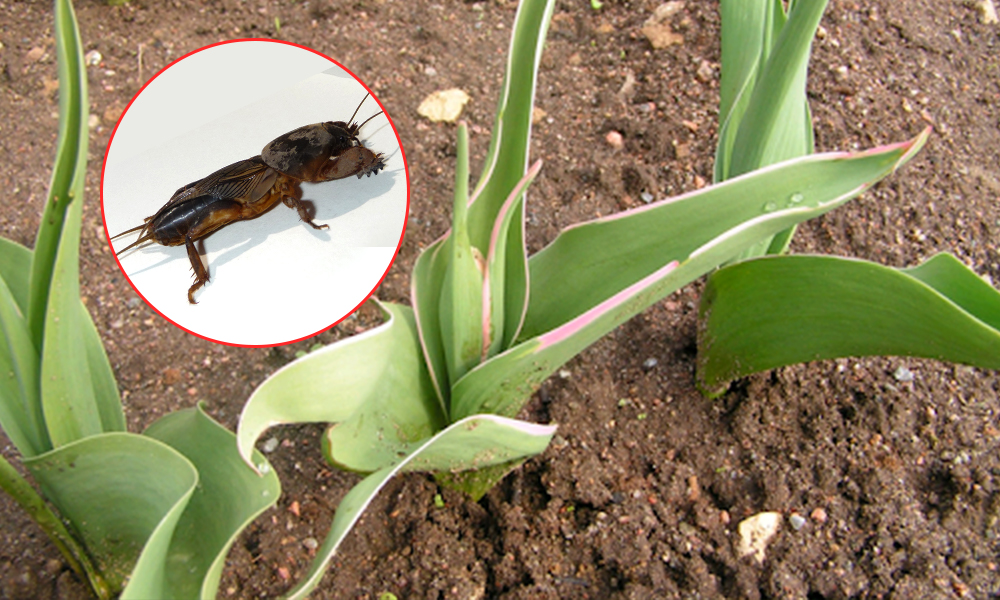
The bear gnaws at the stems and roots of the plant, causing serious damage. You can notice that there is a bear on the site by a large number of moves in the soil. You can remove its nests by deep loosening the soil.
Wireworms gnaw through the tunnels and damage the bulbs as they grow. After which the bulbs rot and can be affected by other diseases. The favorable conditions for laying eggs by wireworms are areas overgrown with weeds, so it is important to remove them in time. The introduction of ammonium sulfate or ammonium nitrate (20–30 g / m2) into the soil creates conditions that are unfavorable for the reproduction of beetles.
You can plant tulip bulbs in the spring, if for some reason you did not do it in the fall. It is only important to do it on time and properly care for the plants. So, although tulips will bloom later, they will still delight you with their variety of colors and shades.


.jpeg)


0 Comments
Post a Comment